
While preparing the airplane for another year at the Reno Air Races I finally got around to replacing the main wheel bearings. The inner seal had failed and I had noticed it during the annual inspection. The bearings themselves were not that bad given 700+ airframe hours, but either way it was a good time to replace it all, including the brake pads while I’m there. Here are the steps with pictures to overhaul the Matco wheel / brake on my Lancair 360.
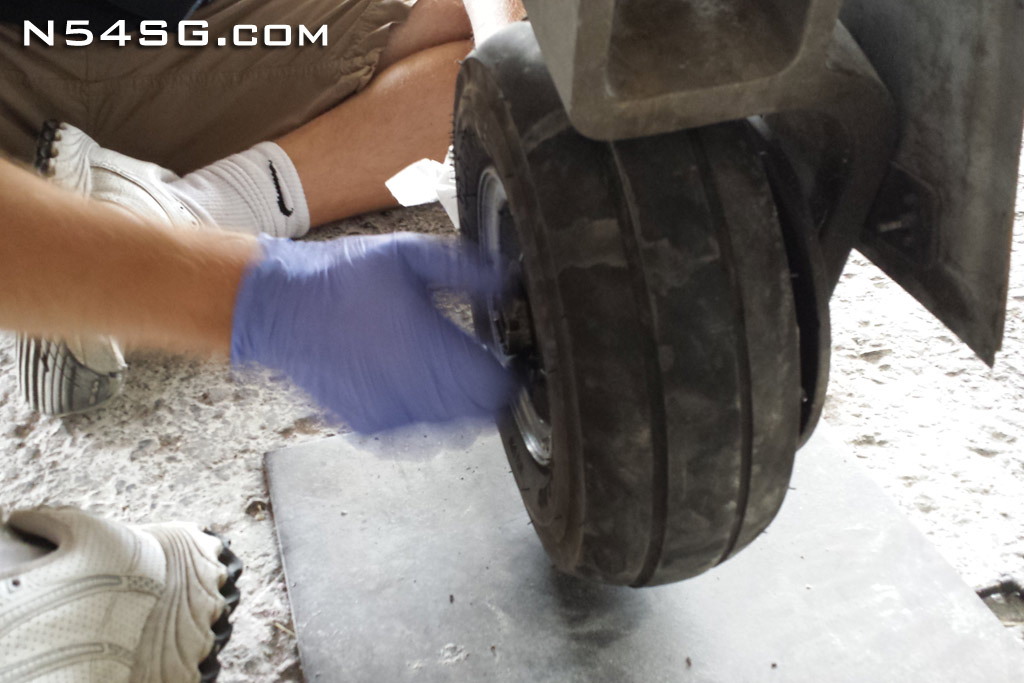
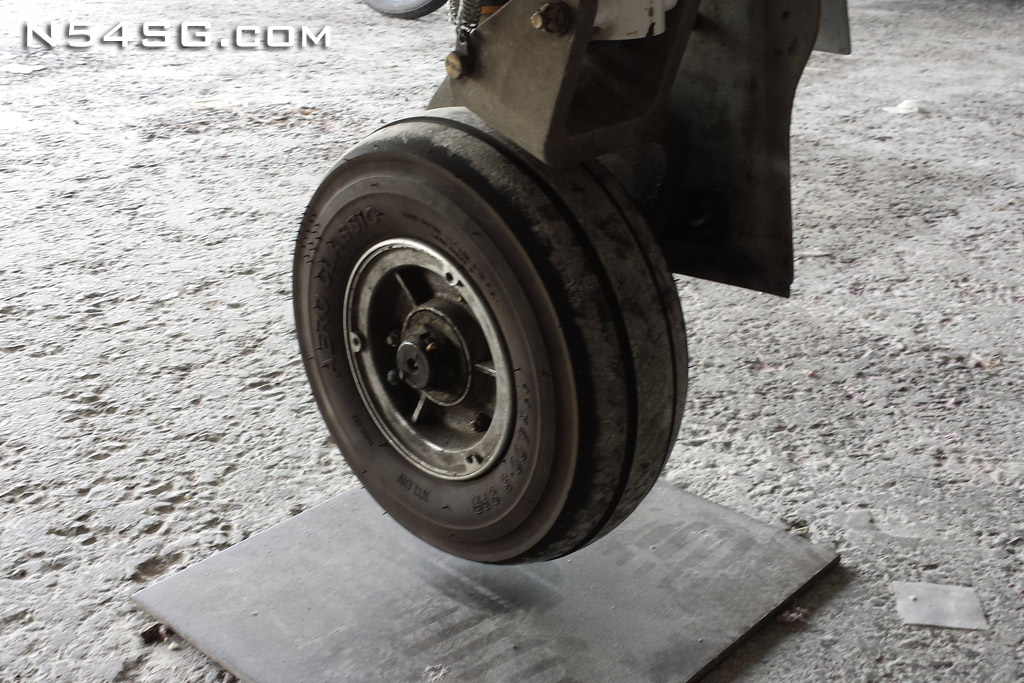
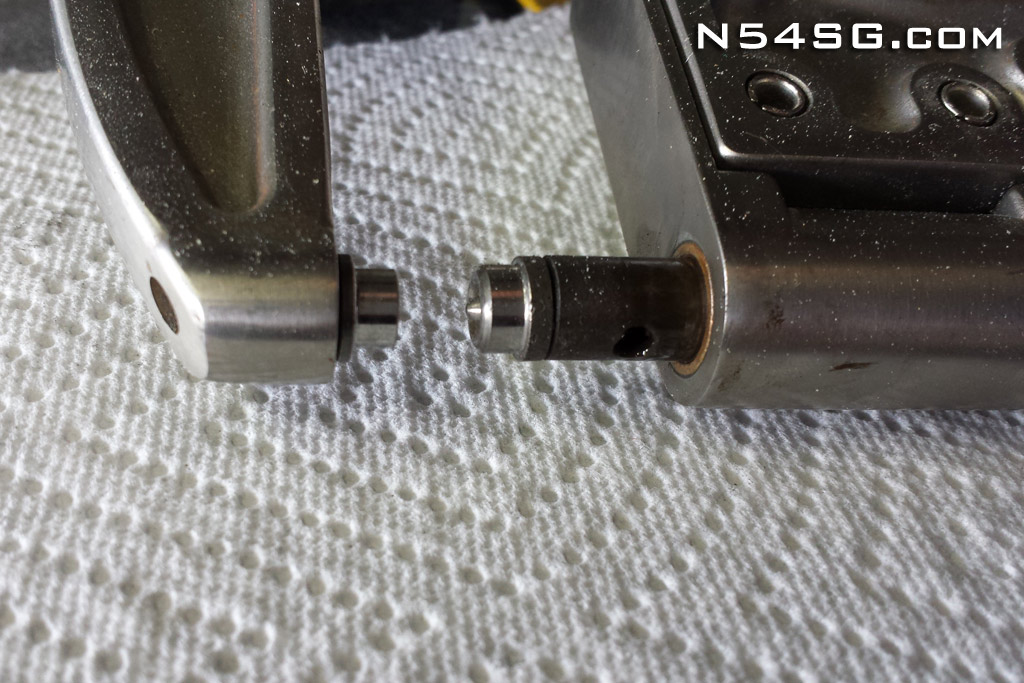
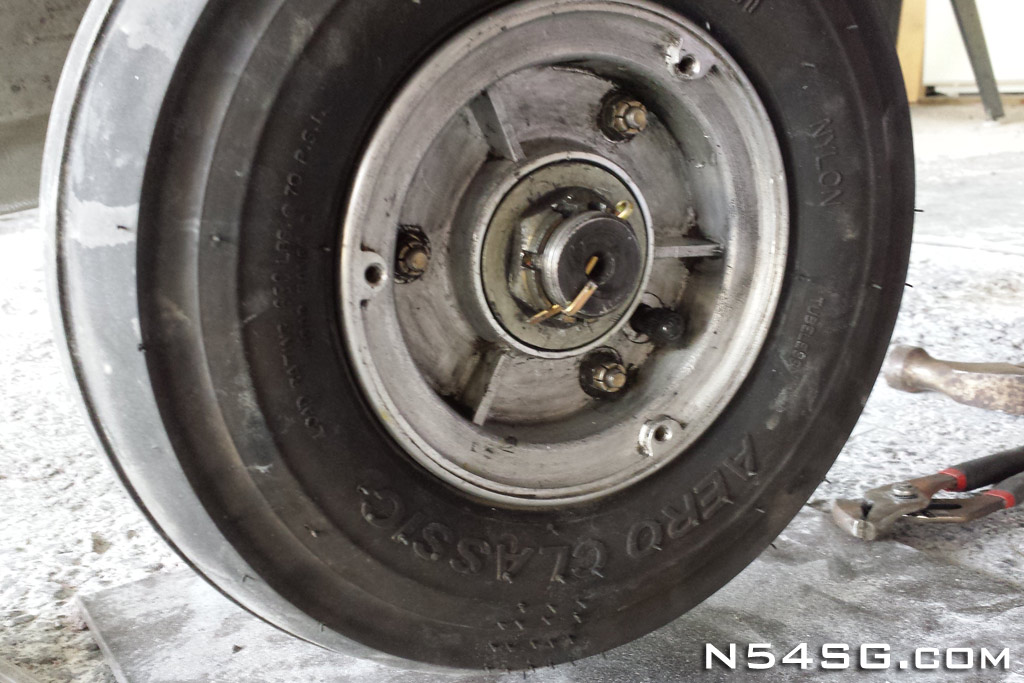
Start by jacking up the airplane to take the weight off the wheel. Remove the 3 bolts that attached the rotor to the wheel, followed by the axle cotter pin and nut. Now the wheel should come off with the rotor staying in the caliper. Notice my inner dust seal wasn’t seating properly and making a mess.


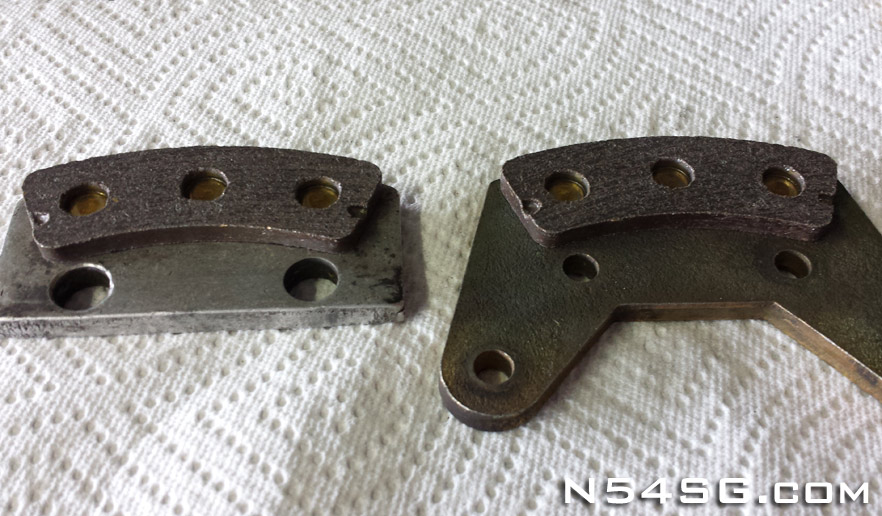
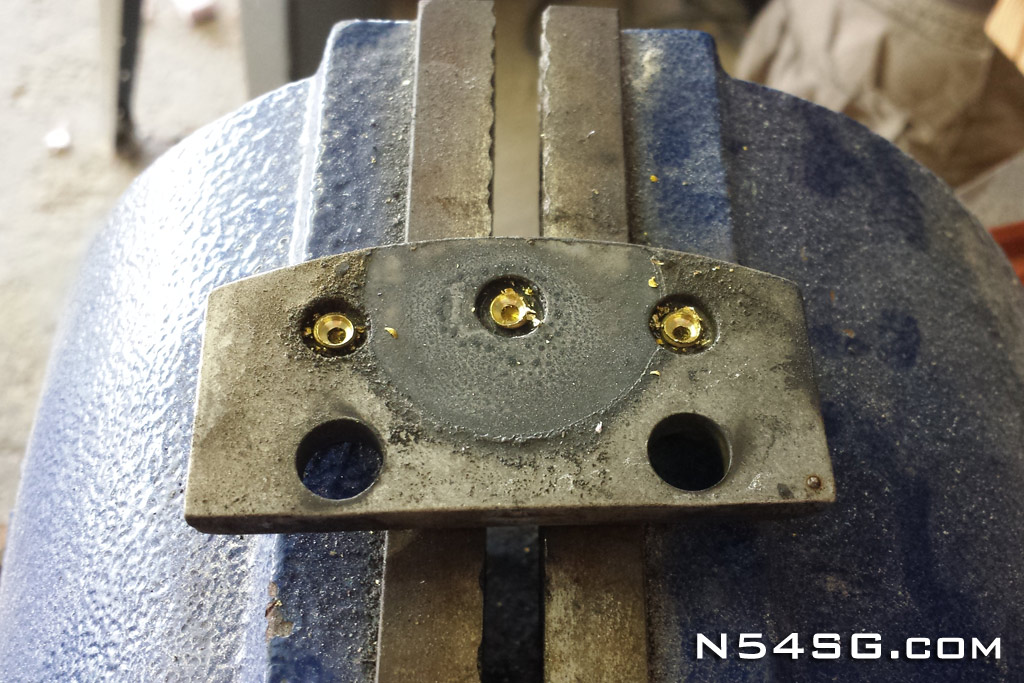
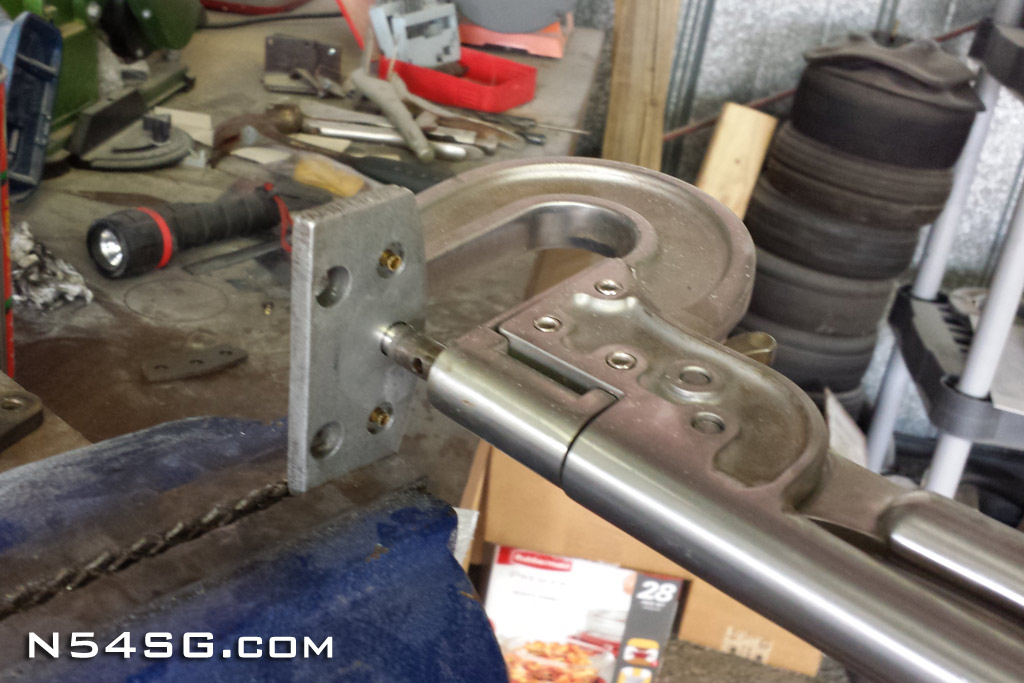
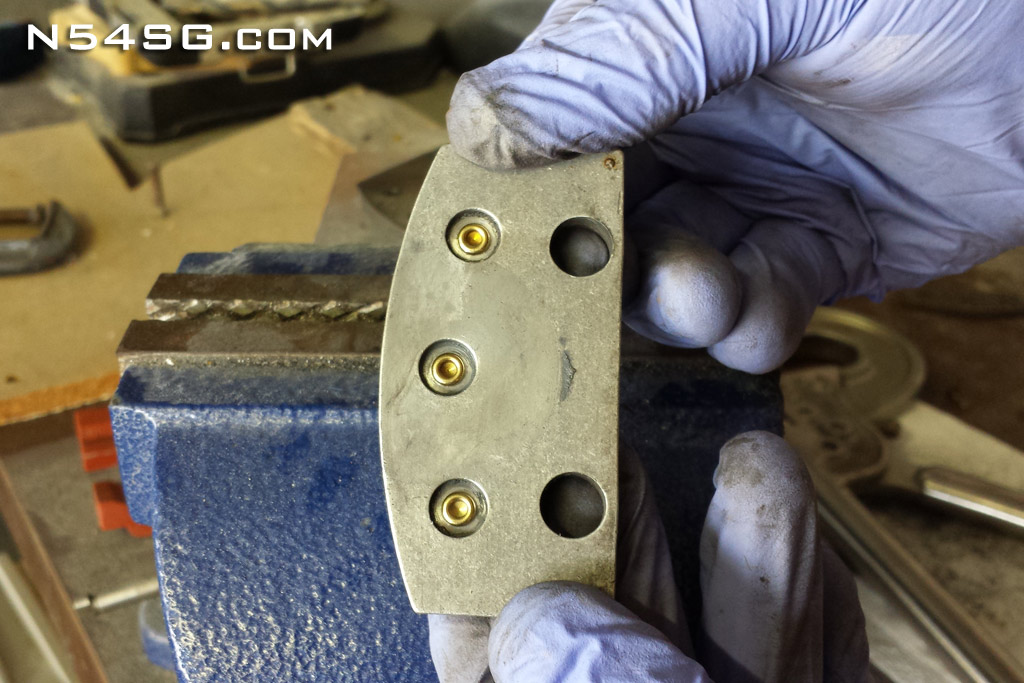
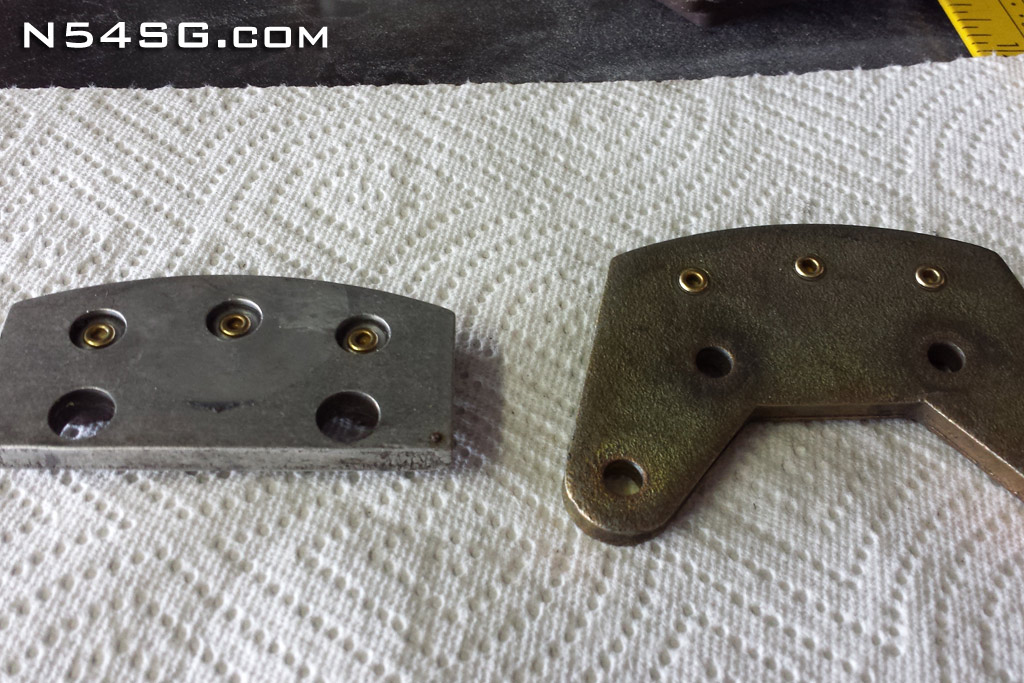
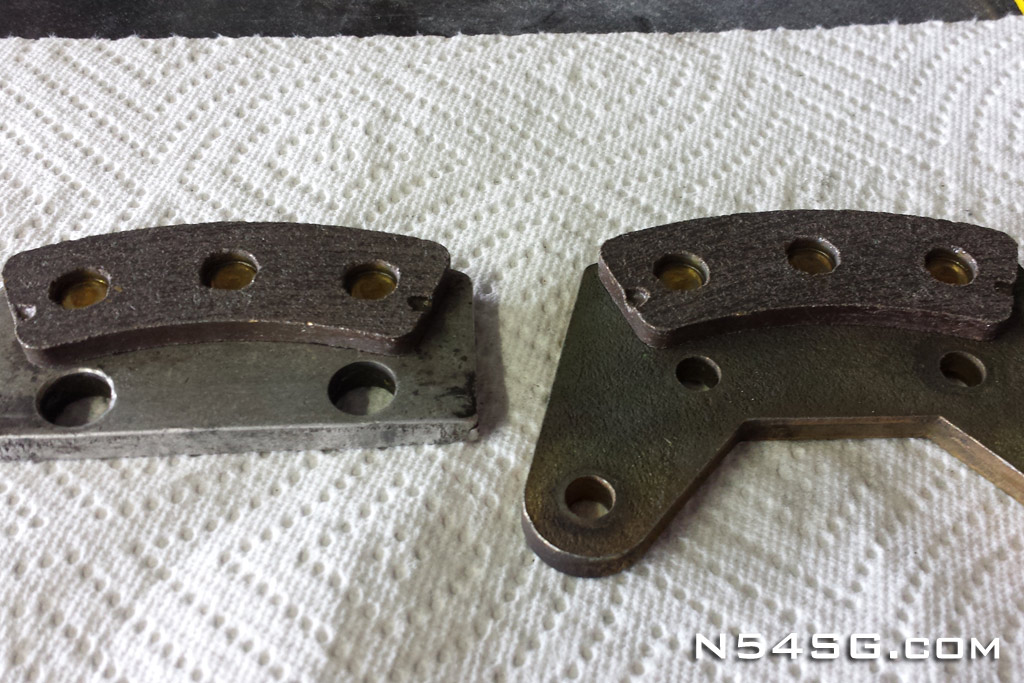
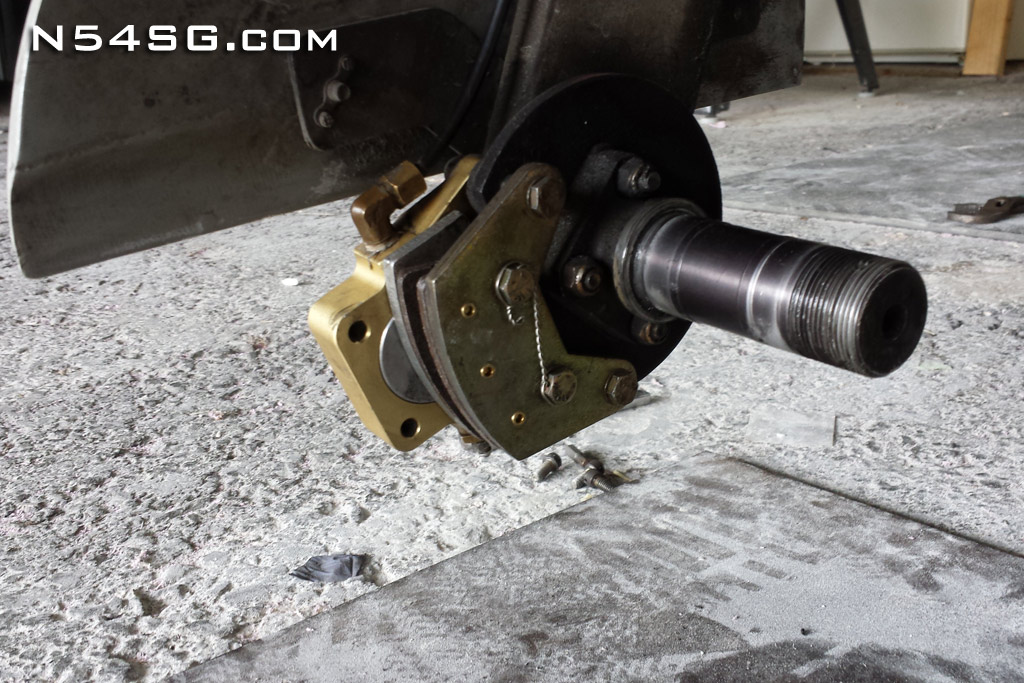
Cut the safety wire on the inner pad bolts and remove the pad bolts and caliper mounting bolts. With the pads removed you can clearly see the amount of wear. The Matco pad has either a tapered edge or a notch cut out of the edge so you can see how much pad you have left without removing them. When this wear indicator gets too low or vanishes, you start to cut the head off the rivet that holds the pad on. Soon after the pad will fall out and you have no brakes! The worn pads in these photos are a little more than half way gone.


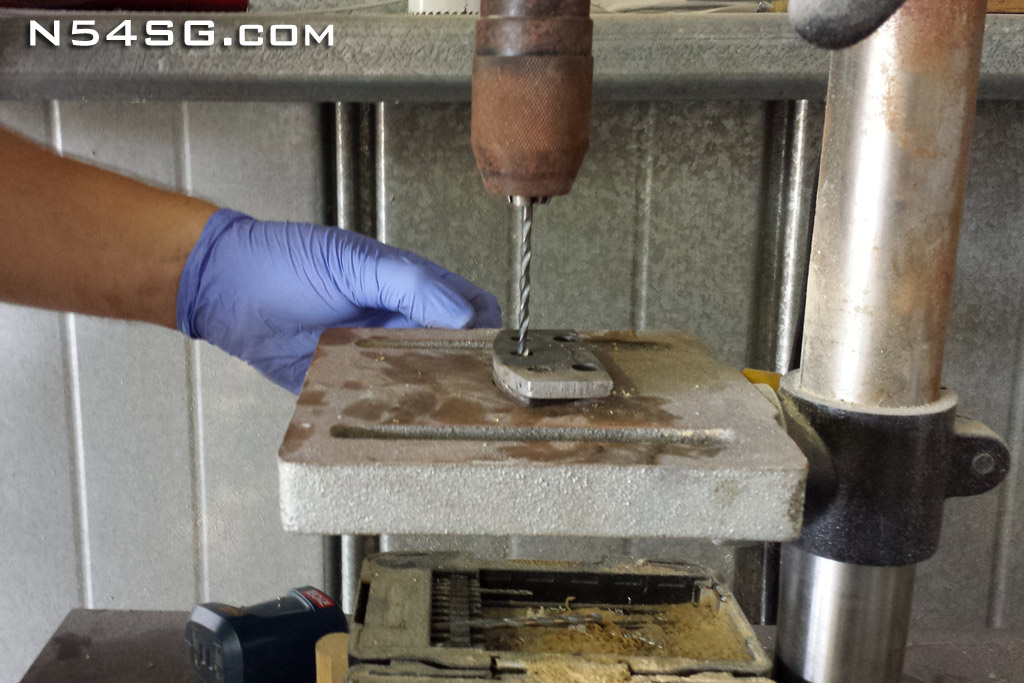
It isn’t required, but I drill a small amount off the head of each rivet first. This makes it much easier to punch the rivet out to remove the pad. Matco says not to punch the rivet out, not sure why. With the head of the rivet pre-drilled it takes almost no effort to push out the rivets. I find this easier than trying to drill exactly down the center of the rivet for removal.


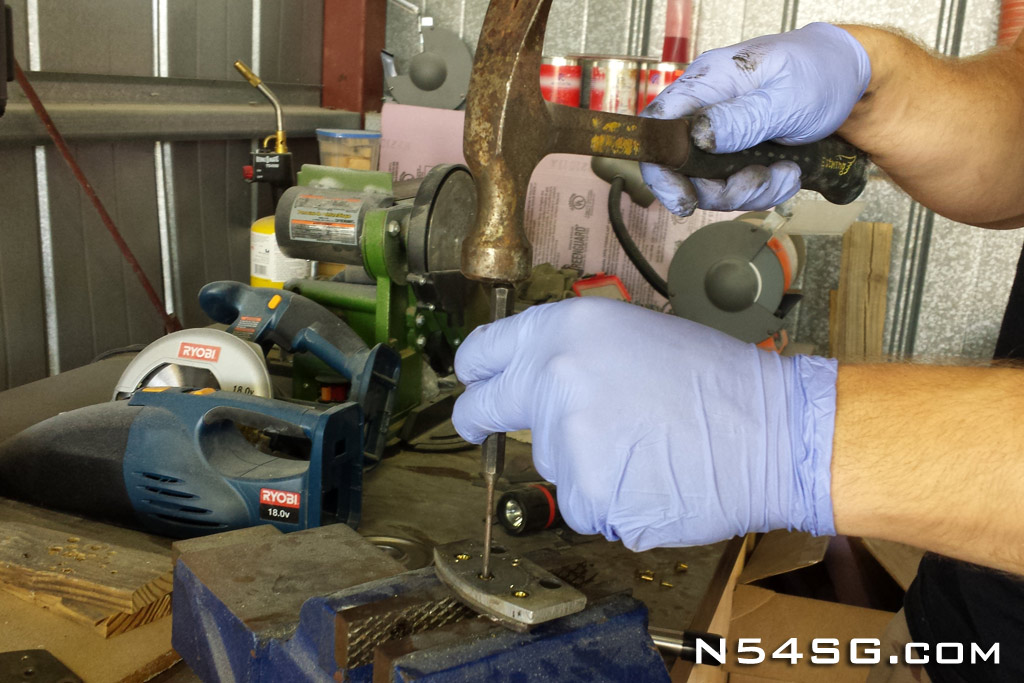
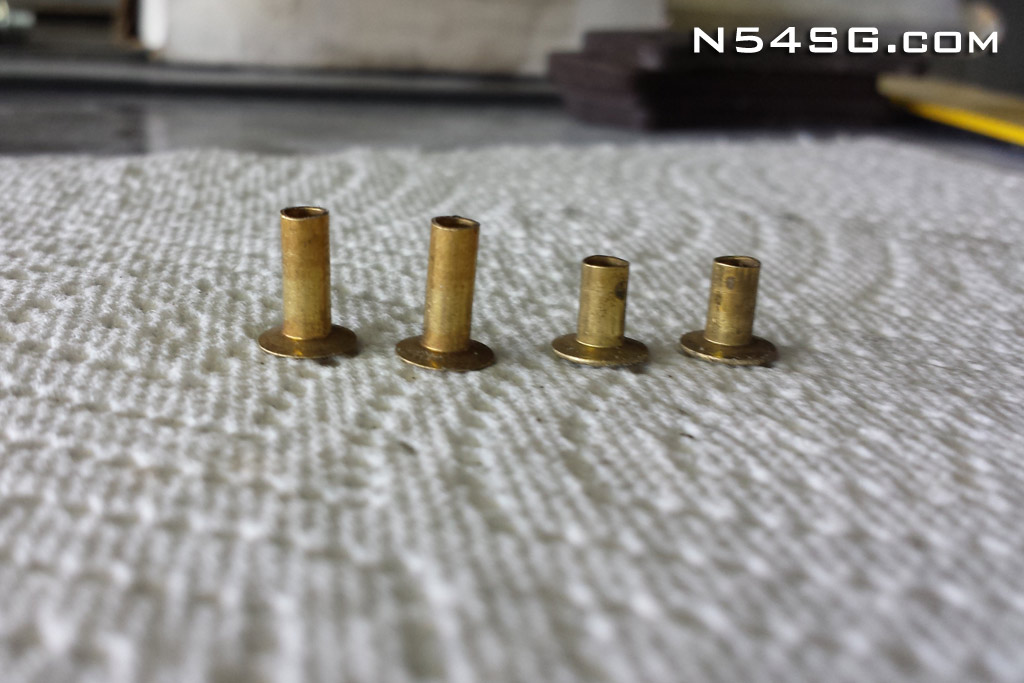
The new pads came with 2 lengths of rivet. The longer of the two is the correct rivet. I have a flaring tool that fits in my Avery rivet squeezer. The tool rolls the edge of the rivet nicely and keeps the pad snug. If you squeeze the pad too much it can crack and ruin the pad so use caution how much you squeeze the rivet. Notice the notch cut out on each side of the pad. When the pad wears down to the point that this notch isn’t visible from the outside, you are very close to the rivet head and need to replace the pads.


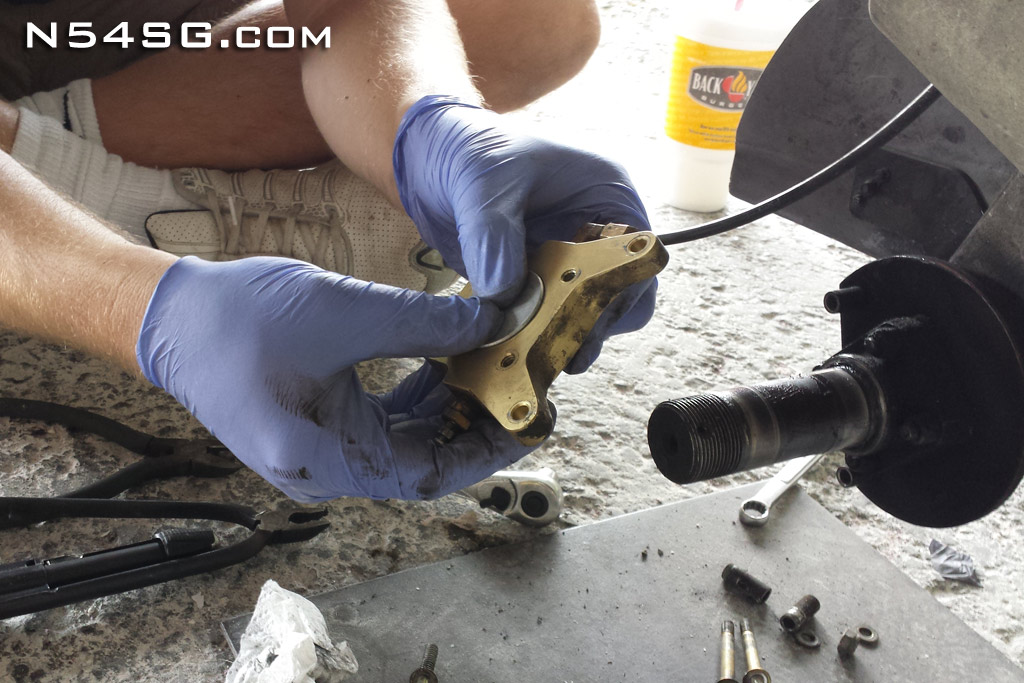
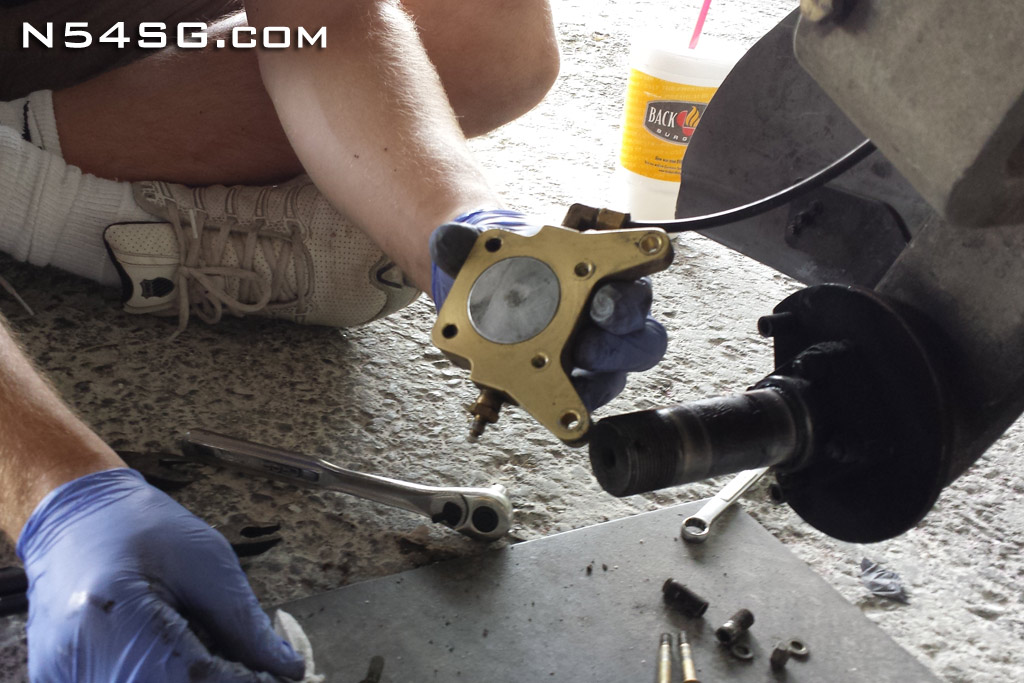
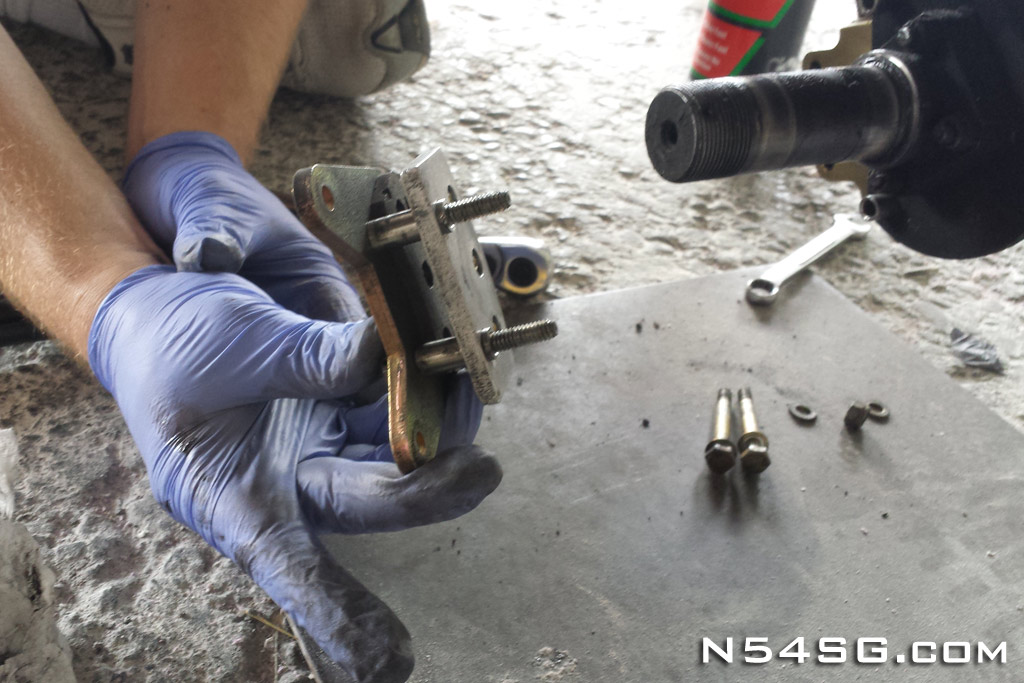
Next I pressed the caliper piston back in to the caliper. Easy to do, just press till it is flush. Now install inner and outer pads back on the caliper. Be sure to include the collar that the outer pad slides on and safety wire the bolts. Now install the caliper back on the hub with new nyloc nuts.


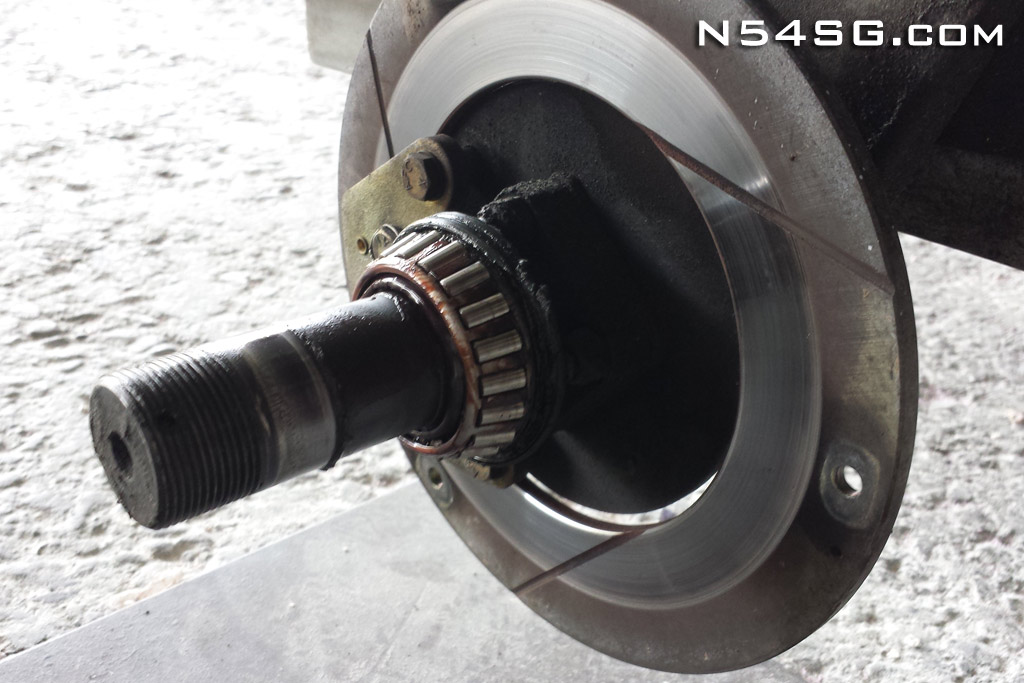
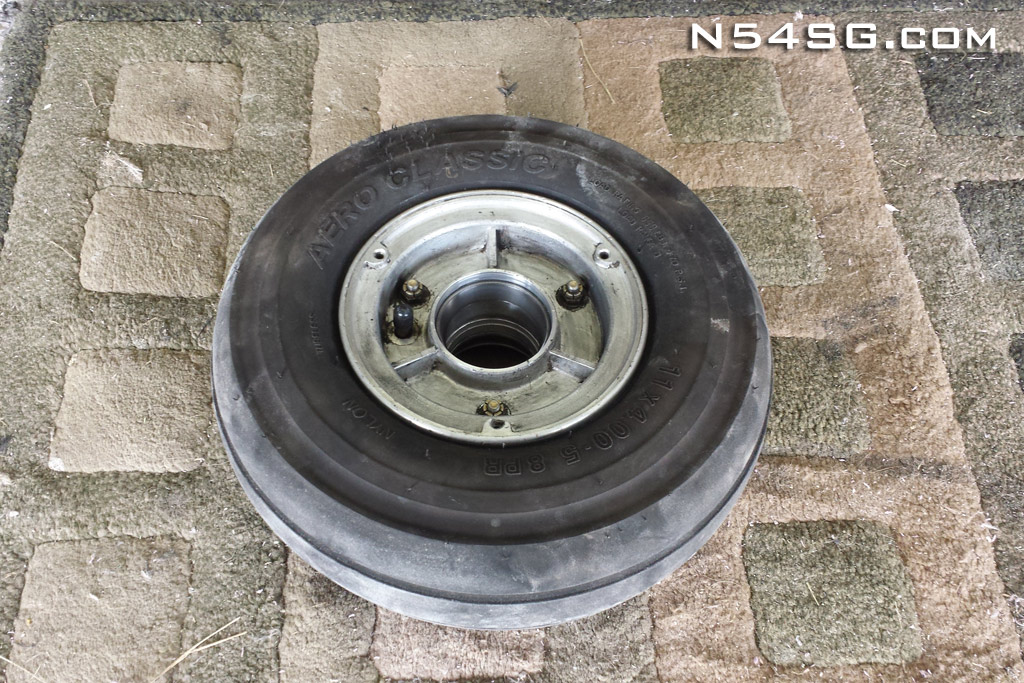
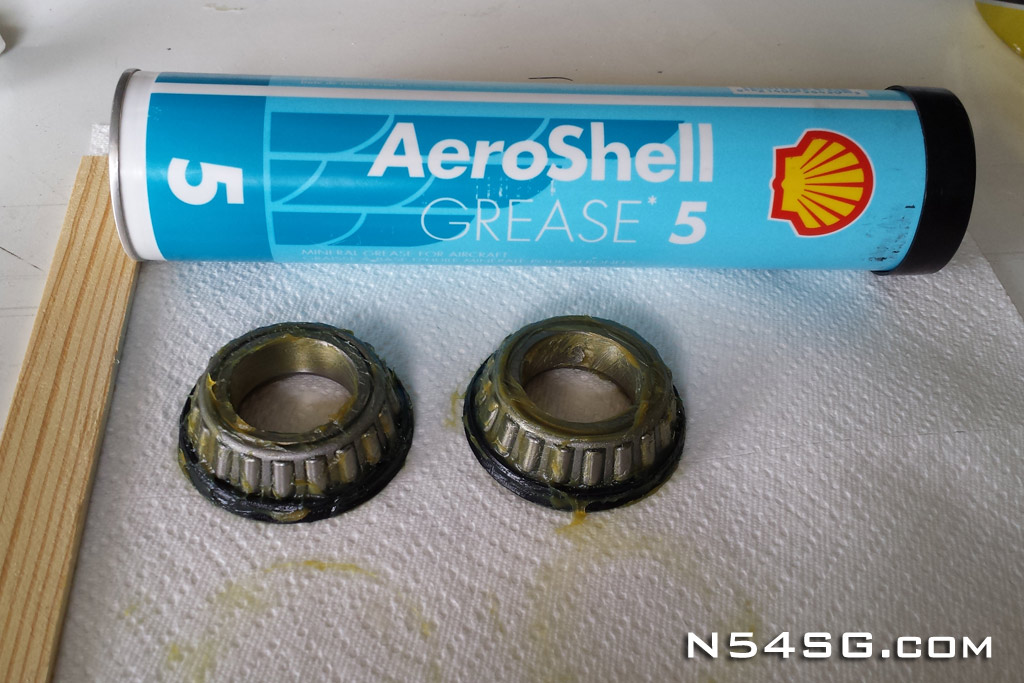
I took the time to clean the wheels as they were rather dirty. New wheel bearings are shipped dry so they need to be packed. I used Aeroshell #5, mainly because it is what I had around the hanger. It is a good catch-all for grease I have found, although there may be something more ideal. That is up to you.


Install the wheel on the hub and tighten the axle nut. These tapered roller bearings with integrated seals torque differently than a bearing without the seals. Best to read the procedure from Matco:
http://static.veracart.com/matco/item_pdfs/3649/document1.pdf
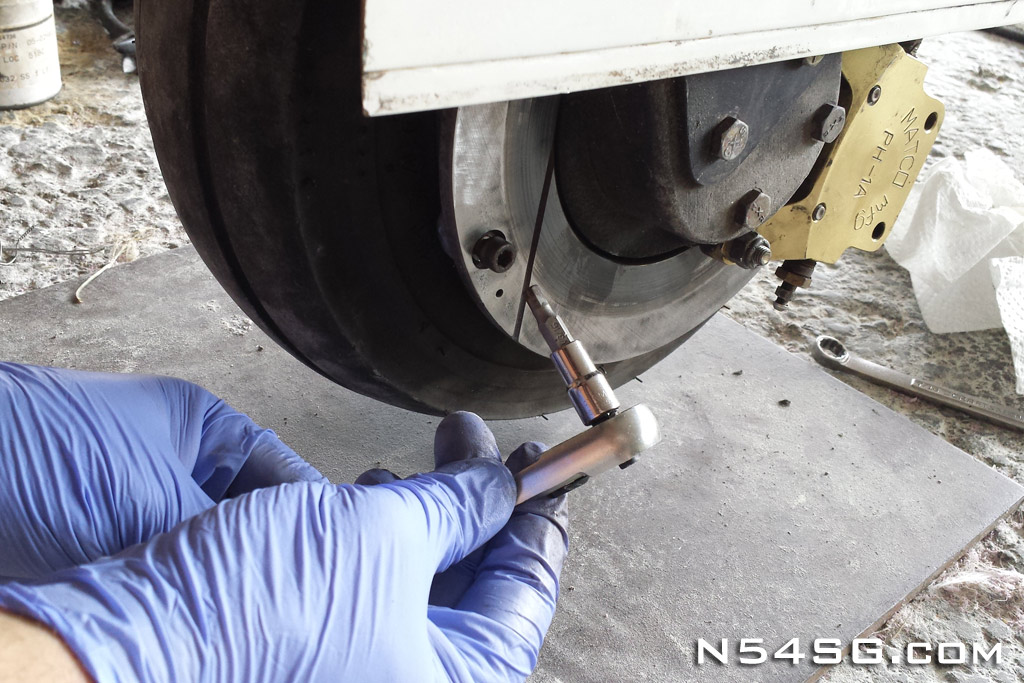
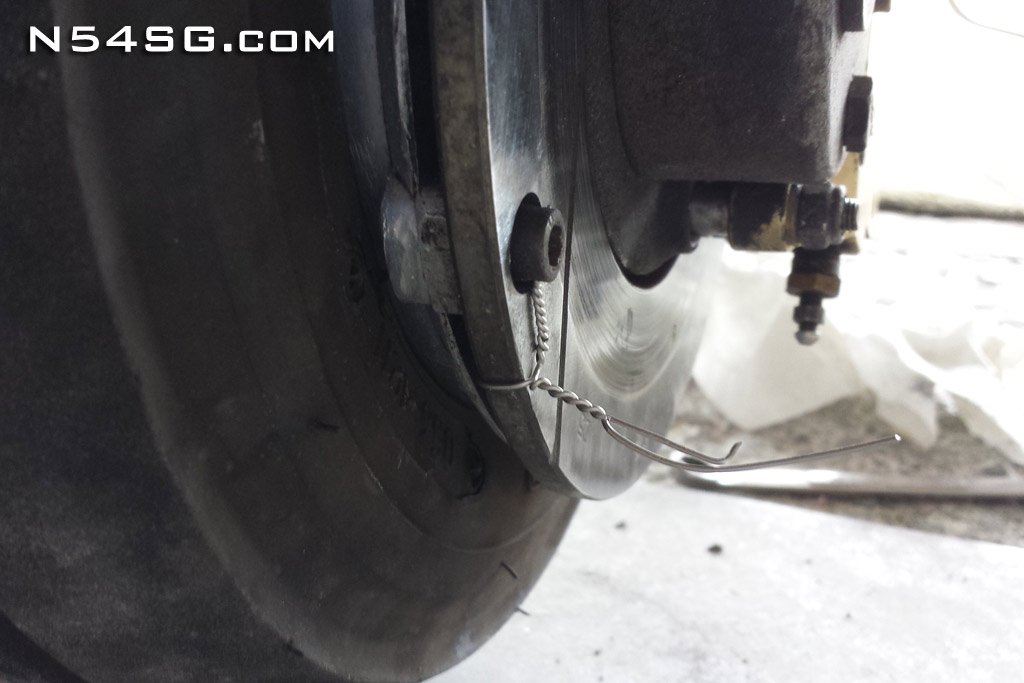
Now attach the rotor to the wheel with the 3 alan head bolts. I use an 3/16″ hex drive in a 1/4″ socked with a ratchet. Mainly because I just generally hate alan wrenches. The only trick here is how you safety wire the bolt. You don’t want the twisted wire end to point inward at the tire. If the tire were to flex out (like in a poorly coordinated landing) the wire will puncture the tire / tube. So, leave the wire on the outside of the rotor.


Matco has some recommendations for seating new pads. They recommend two or three taxi stops from 30-45 mph. This should generate 300 – 400 degrees in the pad and ‘glaze’ the surface allowing much more effective braking. Allow the pads to cool for 10-15 minutes. Do this before your first flight. In general this is a lot of work just to remove the wheel but it will have to do until I pony up for a set of Beringers!