During one of my many formation flights, someone in the formation pointed out that the trailing edge of my nose gear door appeared to be blowing open. I had no signs of trouble in the cockpit and can only assume this had been happening for some time.
At first I thought the door itself was the problem, and would require that it be made more stiff. After my first inspection of the door, my opinion quickly changed. The stock door is actually very stiff. At this point I am reminded about the power of pressure over an area. Wow, that is a lot of pressure to bend this door open.
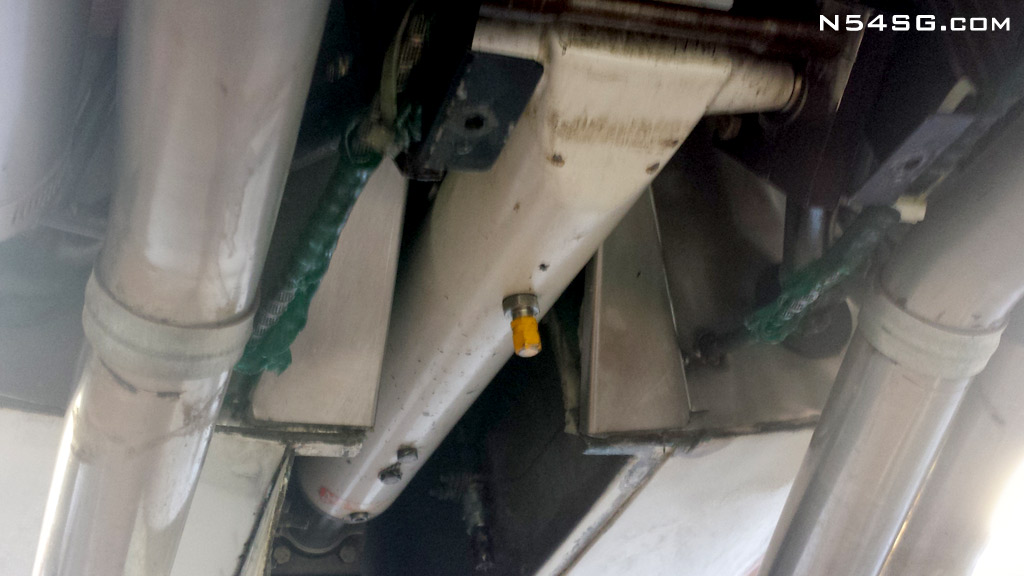
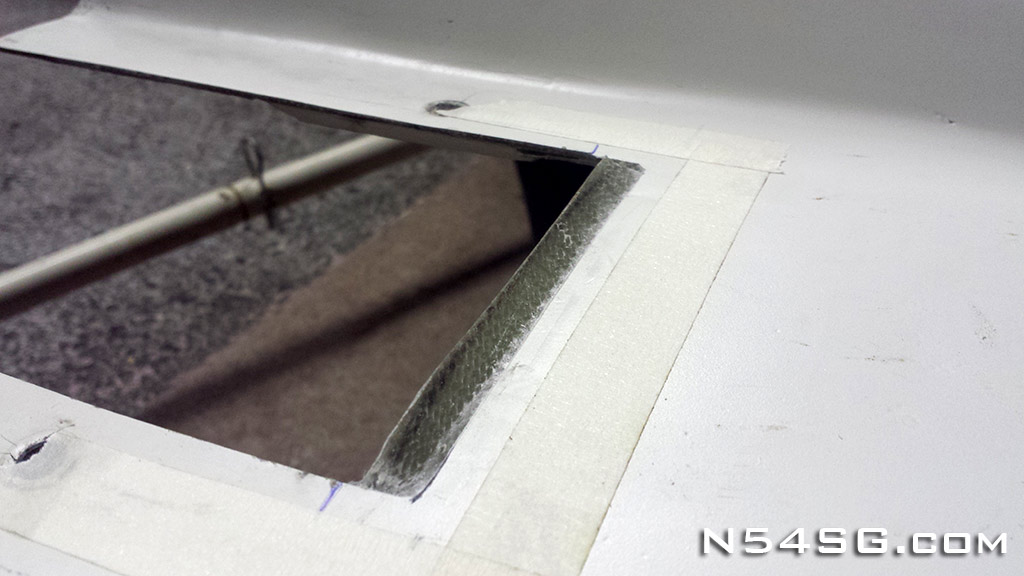
So, follow the air upstream and guess what you find. A gigantic slot in the firewall that the nose gear must retract through. A quick check of the original build manual and sure enough, there it is, a fairing that is supposed to be attached to the nose gear that covers up this slot. Either my airplane never had one, or it was lost long ago. Surprised? I’m not…
Part of the grand plan for the cowling also included some sort of door to cover up the slot normally left in the cowling by the nose gear. The reason is to close off every little bit of cooling exit area. The quest for less and less cooling air continues! Planning ahead for this I had cut the slot in the cowling with square corners anticipating an MS20001 style hinge at the leading edge. Anyway, more on the door later, back to the slot in the firewall.
Obviously cooling air trying to exit the cowling is being pumped in to the nose gear door bay and pushing open the nose gear door. In order to close this off I needed to build a cover that attached to the strut and when retracted would be flush on the firewall. It turns out the firewall at this point is at about a 45 degree angle, so the cover is going to be a little odd looking.
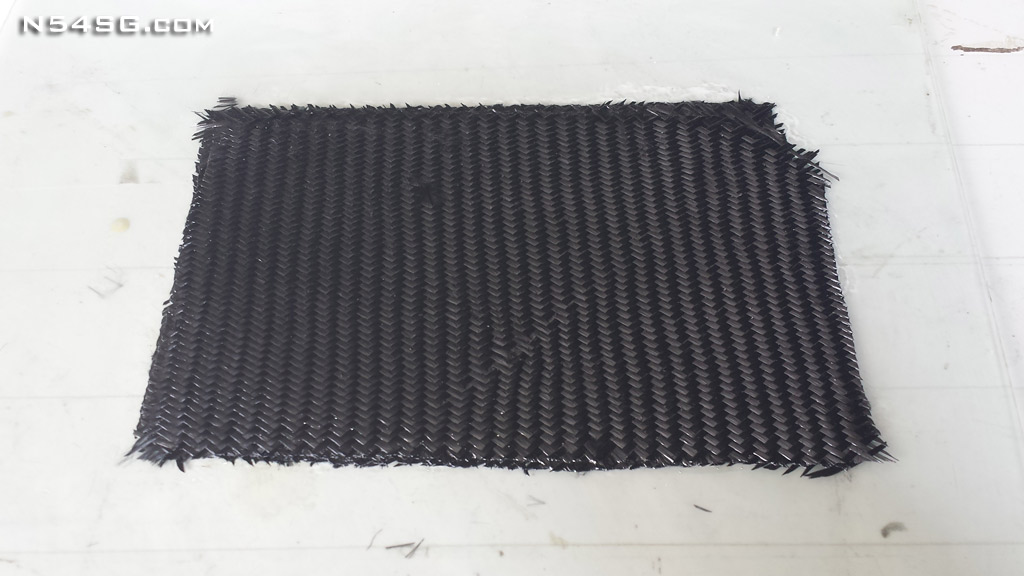
It is no secret that I hate making things out of aluminum. For all of the RV builders that read this, well, I’m sorry. What a pain.. Anyway, so aluminum is out of the question, I’m done with it. Carbon it is! This part was going to need a few sections of flat carbon panel for the firewall slot and the outer door. I use a couple pieces of old glass as a form. Nice and flat and easy cleanup. Just slap on some mold release, add your layers, peel ply it, and wait till tomorrow. I think I used 4 BID for the slot cover and a 6 BID layup for the outer door.
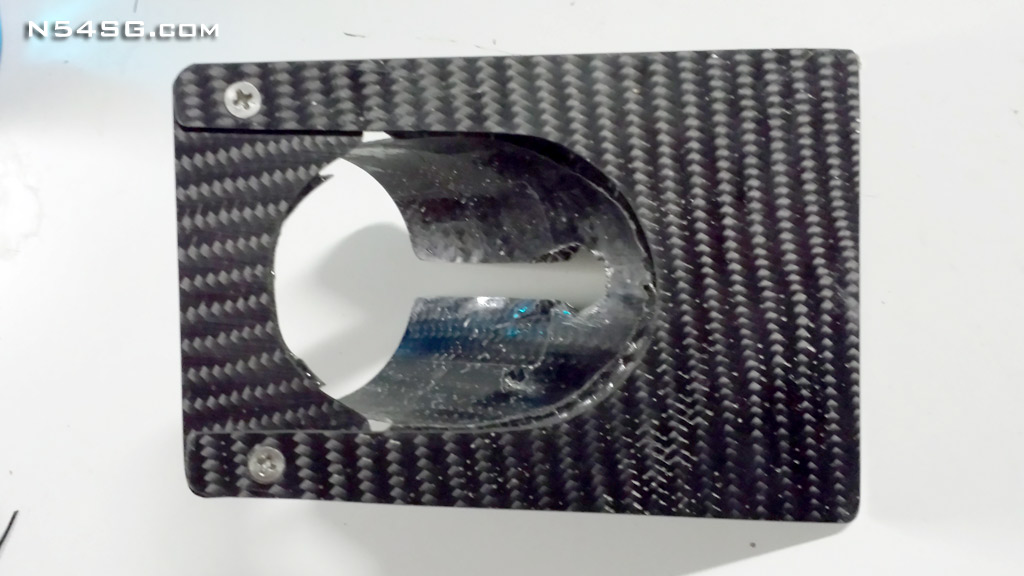
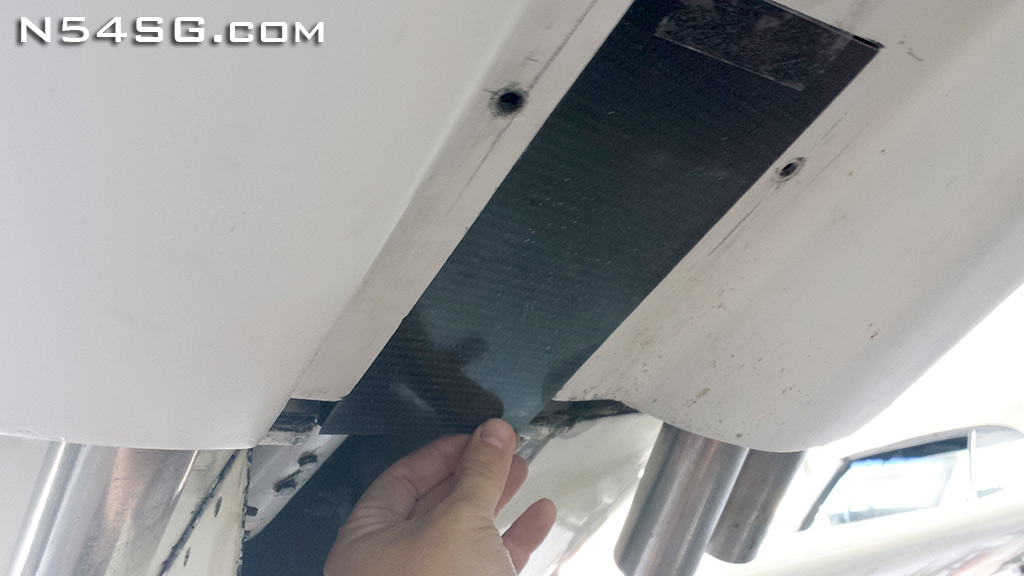
Next I used some poster board to cut a template for the slot cover. I wanted to be able to remove this part without taking the nose wheel off, so I had to make the cover 2 parts. This way you can slip it on, then attach the cover on the back to complete the slot cover and add some strength. Using the template I cut the part out of my cured 4 BID carbon panel.

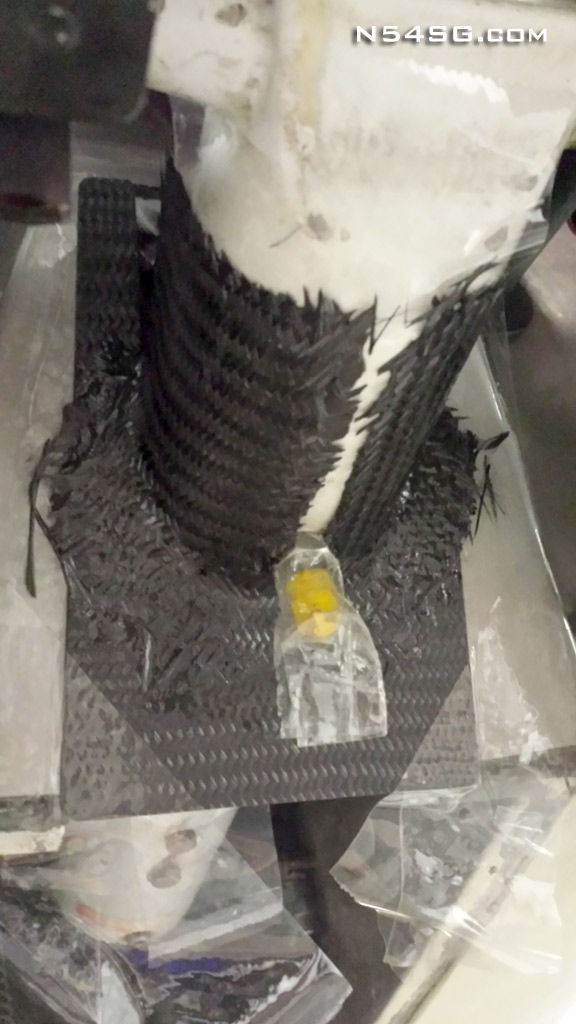
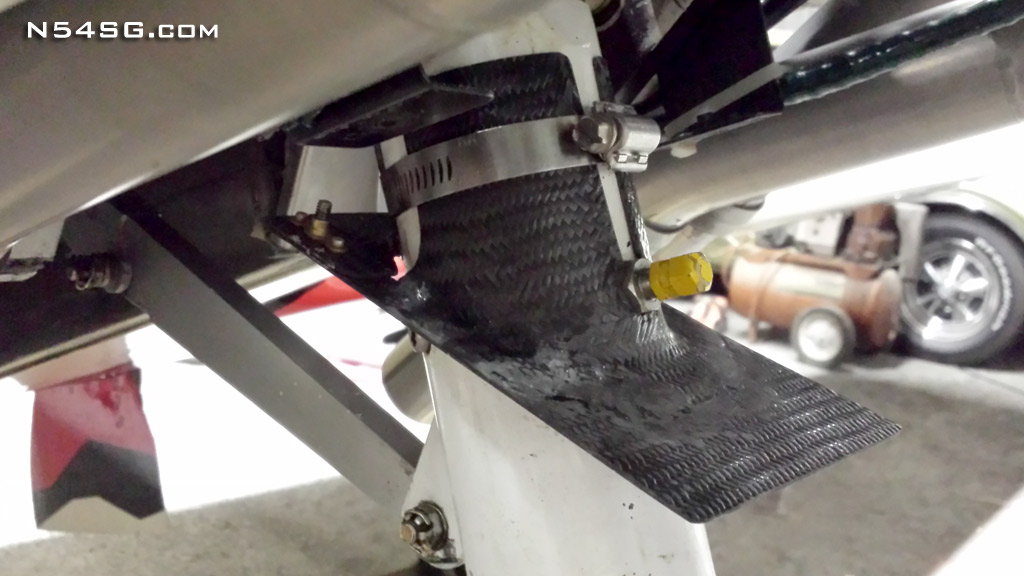
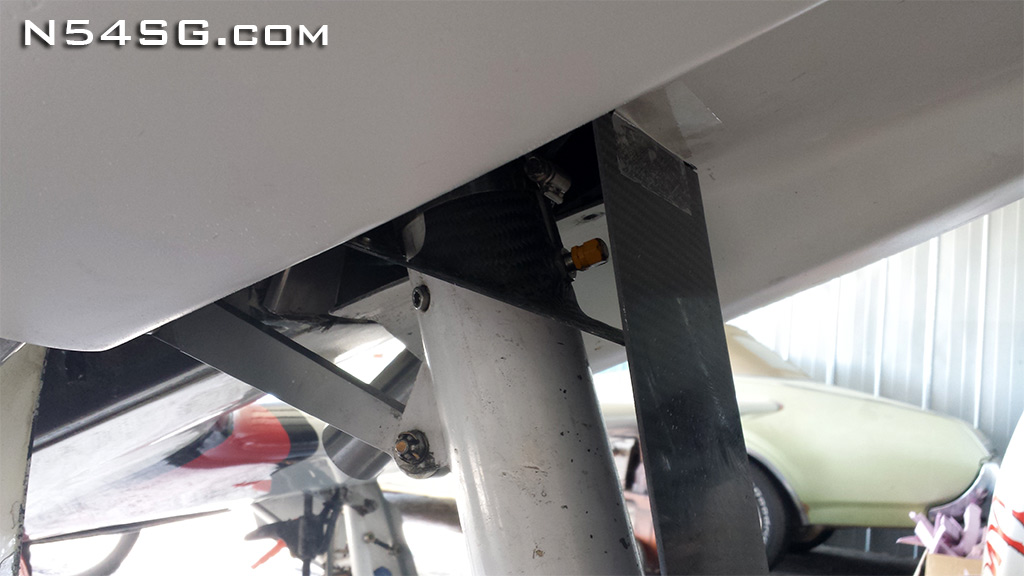
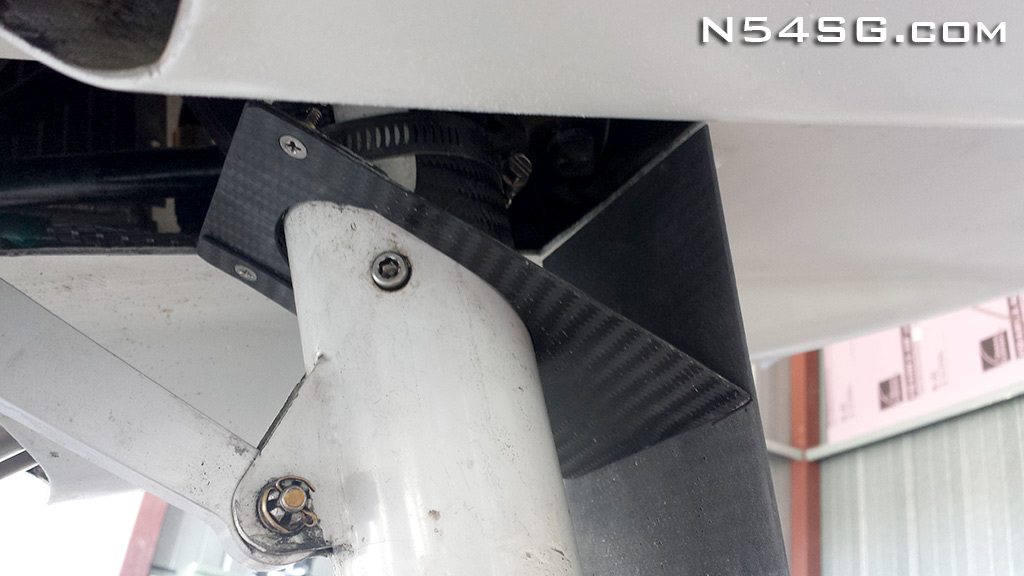
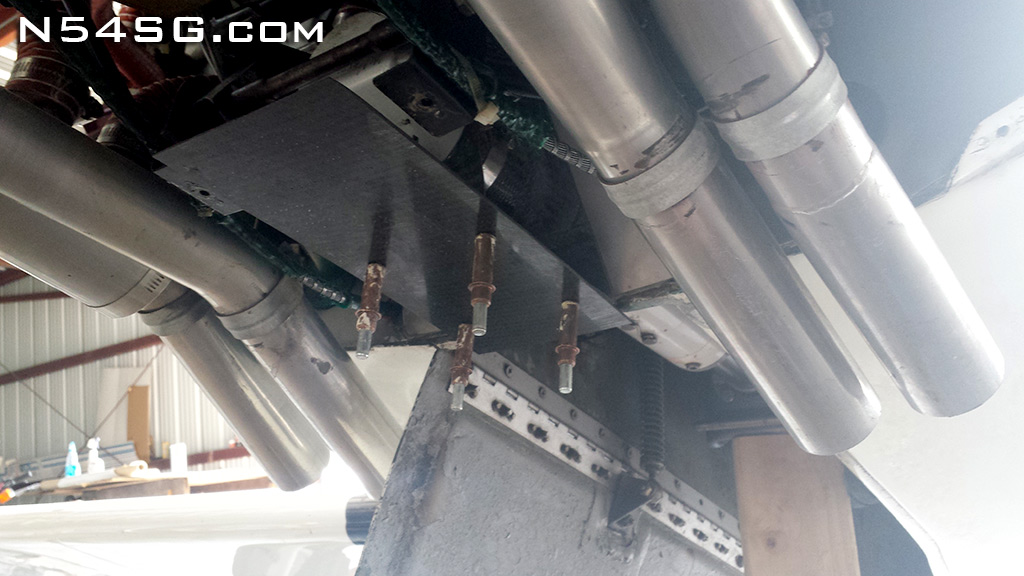
With the nose gear retracted and release taped the strut and taped the cover in place on the firewall. Using some oh so precious carbon scraps, I made a 4 BID laminate to attach the cover to the strut, ensuring a perfect fit. I left the vertical seem around the air valve on purpose. The reason is when I tighten down the carbon, I wanted it to squeeze the strut. Squeezing a complete carbon tube isn’t going to get you very far.. Then I had to repeat the steps on the back side to complete the cover.


The air valve from the nose strut is a perfect tool here. Not only does it guarantee you install it at the same place each time, but it also keeps the part from rotating. Win – Win! Standard issue hose clamp around the top and we’re good to go!


The outer door was the next hurdle, one that left me sitting on the floor just looking at its geometry for hours. I could not think of a failsafe way to open and close the door. By failsafe I really mean foolproof. The hinge point would have to be so close to the strut that it would have a pretty wild angle if attached with a standard looking door link, a set of rod end bearings. Plus, anytime you removed the cowling you would have to mess with the stupid door linkage. And what if you forgot? That would just ruin your whole day!


Then it hit me! If I were to sacrifice a small amount of area not being closed by the door, I could attach the door to the new firewall slot cover thingy. (that is a technical term) All I had to do was determine the distance the cowling was from the strut when retracted. Then find any interference when the nose gear extends and the door is forced up behind the engine. That would really be the limiting factor.
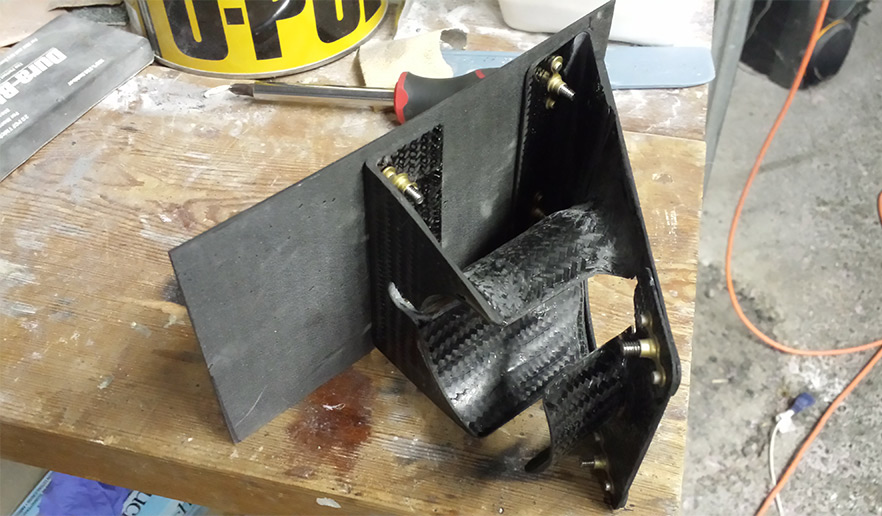
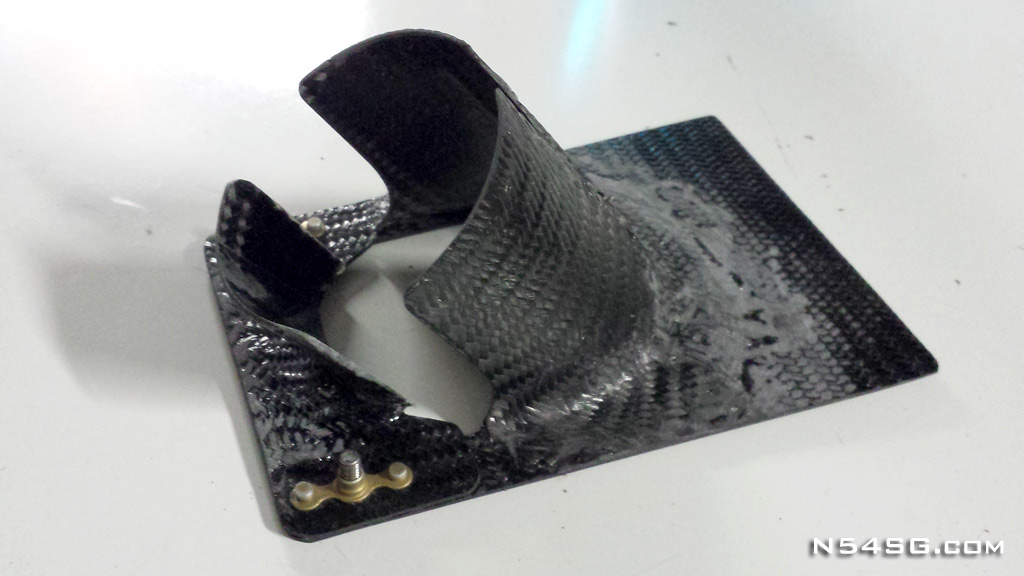
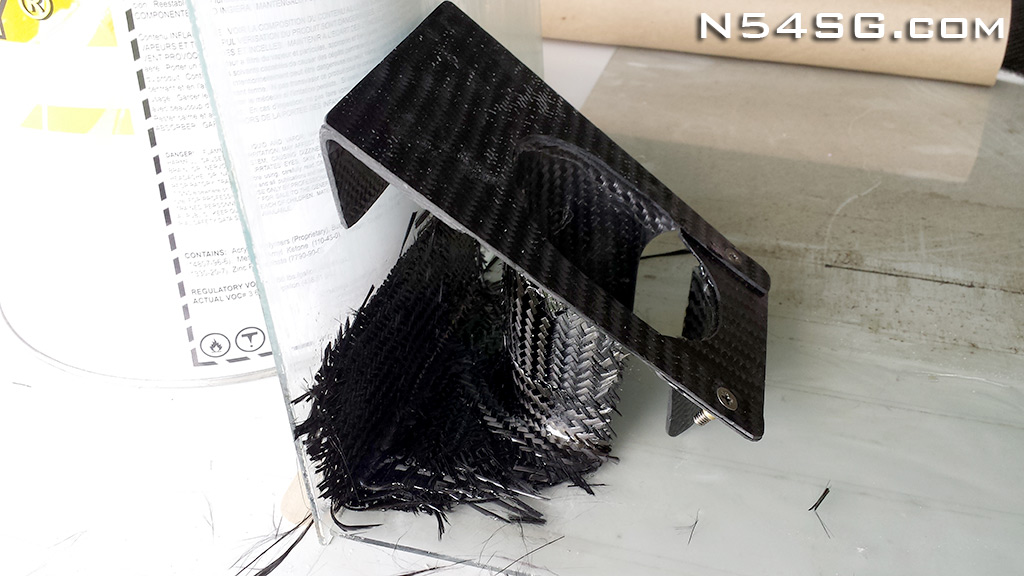
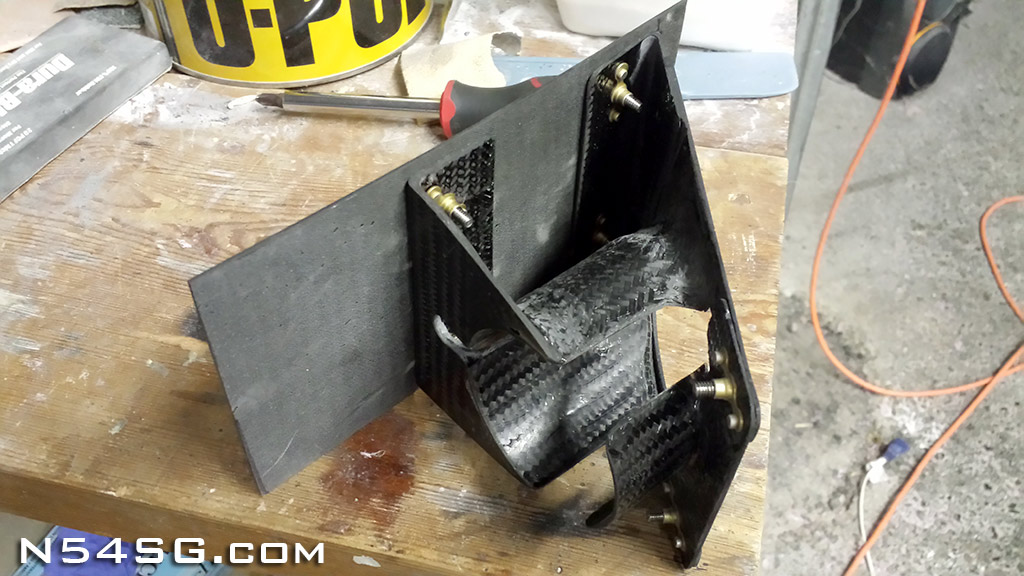
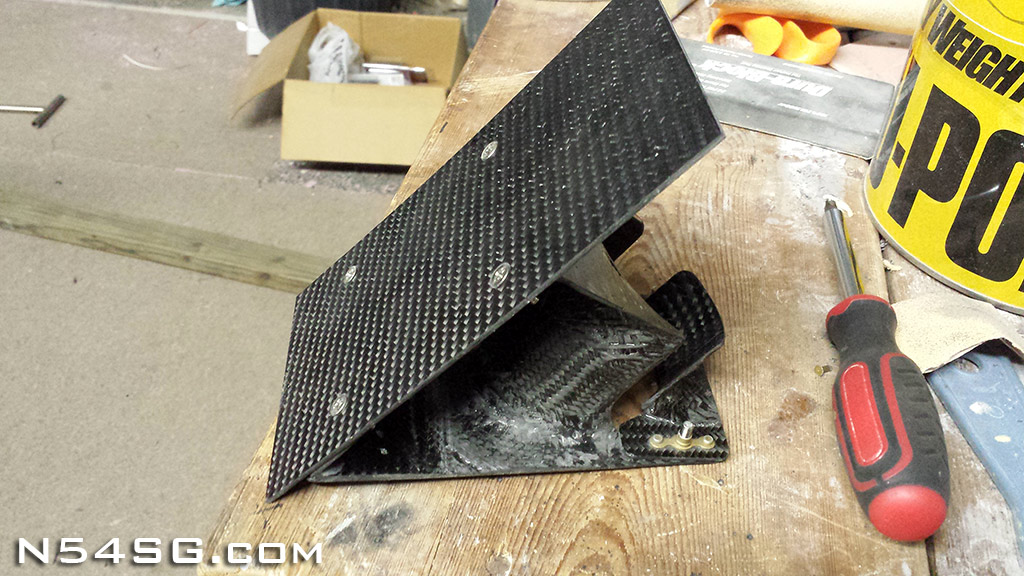
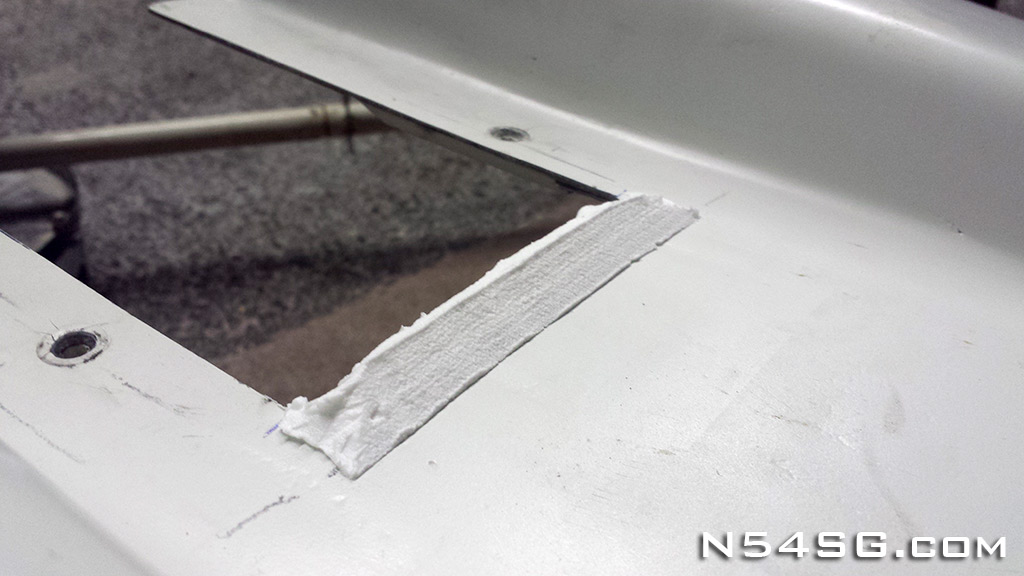
After a bunch more Mountain Dew, I figured out the distance I wanted and how I would attach it to the strut. I wanted to be able to shim the door until it was flush with the cowling, so I built the base a little bit short. Design in some flexibility, always important! I used the same glass as a mold, sort of, and cured a few angles on to my otherwise finished part. This gave me 2 nice, very strong tangent surfaces to mount the door to. Trim it up and sand off the sharp edges, reinstall on the airplane and bingo! We got a door!


The full length door wouldn’t work, but I knew that going in. As the gear extends, it pushed the door up behind the engine. I trimmed the door back small amounts at a time till I was comfortable with the amount of gap I thought I would need. It was actually the bottom of the oil sump that was close, so I need to factor in the amount of engine movement in the mounts as well. Moral of the story, a safe margin.
Speaking of safety, there was a concern from the beginning about how the gear would work in an emergency extension. The system uses a gas strut to push the nose gear out and lock the over-center link in place. The gas strut is required to overcome the aerodynamic loads put on the gear itself, so adding a door could be a problem. One benefit of this door pushing inside the cowling is reducing the frontal area during this extension. Looking back, I think the object with the most aerodynamic drag is a cylinder or a sphere. So, putting a square door in front of a round tube may even make it better! Oh well, didn’t want to go that far with it. Moral of the story, emergency extensions work just as designed with no measurable difference in performance.
I didn’t photograph this step, but next I added some micro/flox pads to the bracket to shim the door out just a bit so that it would be flush with the cowling. I hate having to use washers on anything so this simplifies install. Actually, the leading edge is up just a bit. I didn’t want it bending out in the relative flow and turning into a scoop! So, just to be safe, I also built a small quarter inch kicker on the leading edge of the door slot on the cowling. Again, forgot to get a finished picture of that..


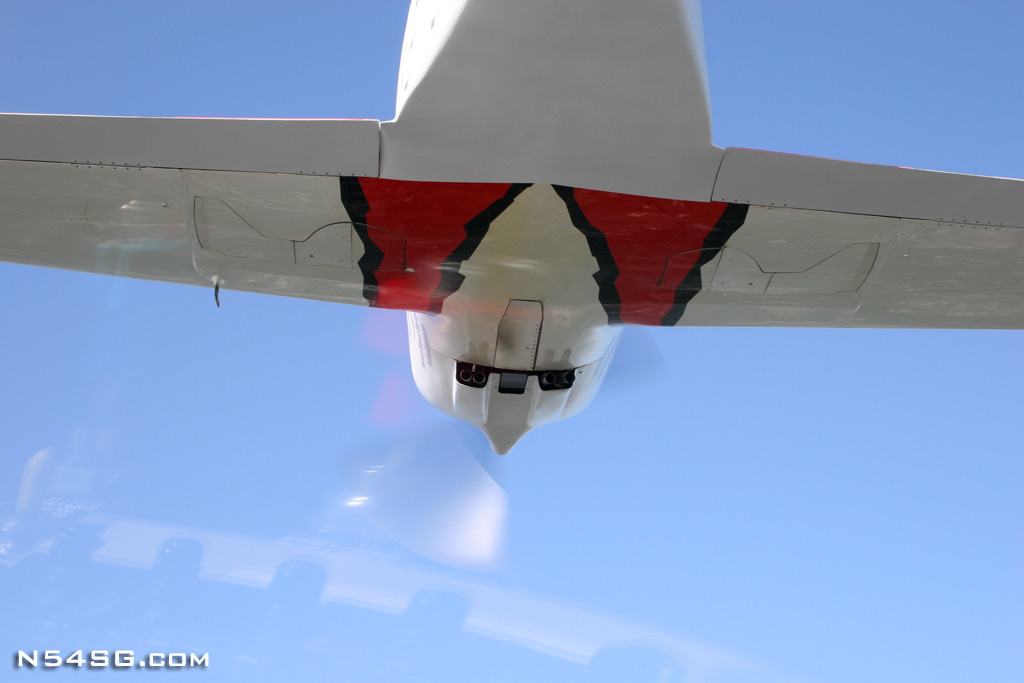
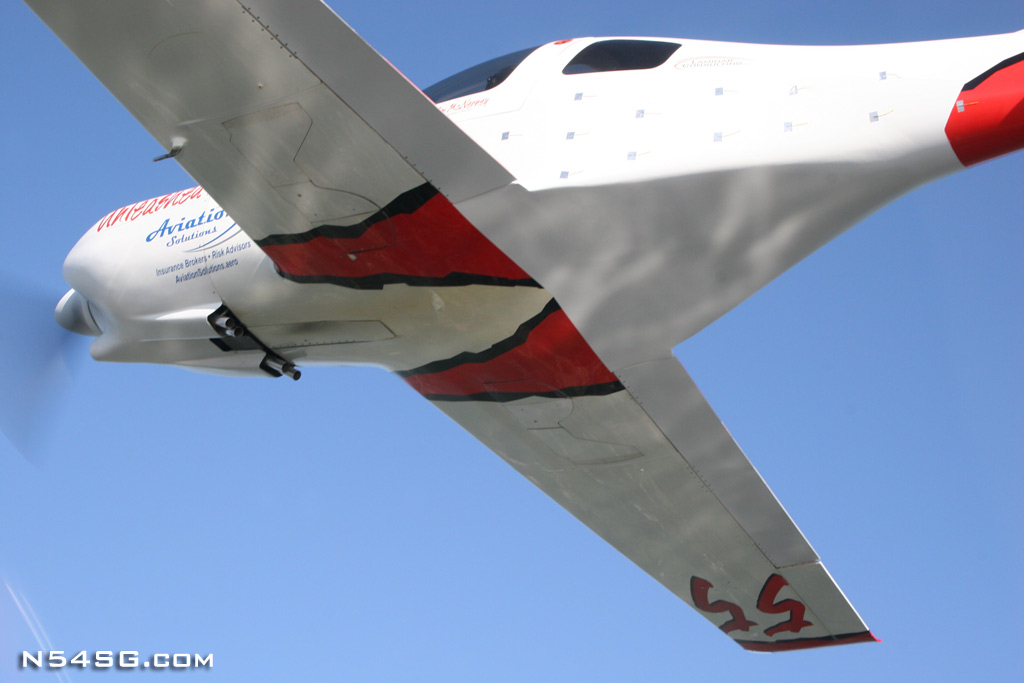
Here are a couple shots of the door in flight. Later I made some gear adjustments and tightened things up a bit. The area at the leading edge of the door is all that is open for cooling air exit. Pretty cool!


Now complete, check out all these benefits!
- Closes out nose gear area from cowling pressure
- Main nose gear door stays closed
- Forward nose door reduces cowling exit area by a large percentage
- It is not attached to the cowling in any way so I can’t forget to hook something up with cowling removal
- It is one of those modifications that if I hadn’t written about it, nobody would ever notice, and those are the cool ones sometimes 🙂
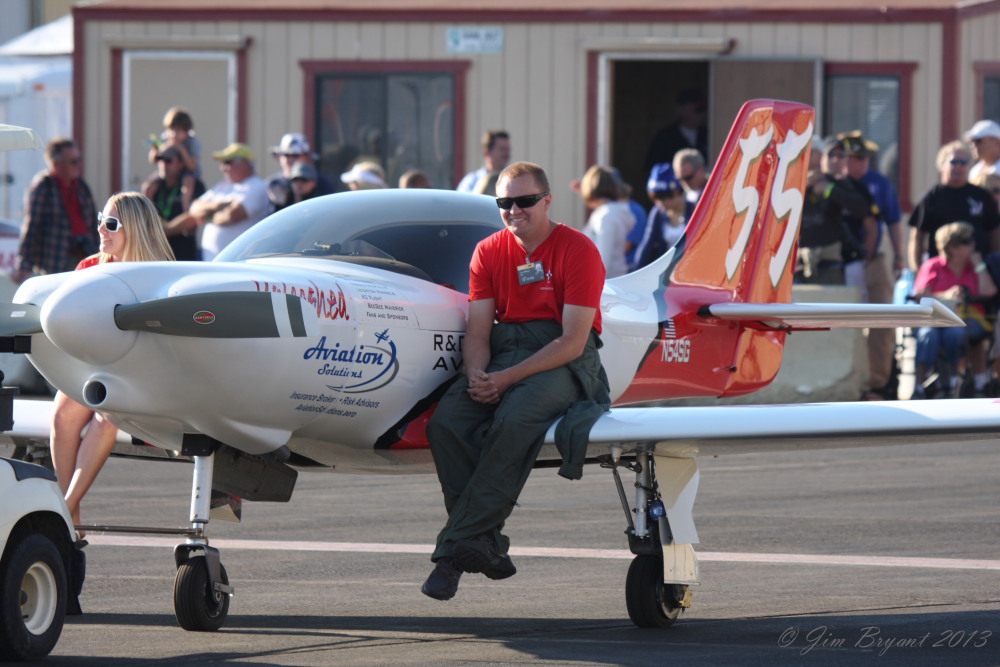
This great photo by Jim Bryant shows us getting towed out of the pits at the Reno Air Races. Can you see the cute little door?